Showing posts with label Crafts. Show all posts

Saturday, March 28, 2020

Exploring Bellingham: Keeping Busy


Keeping busy and feeling productive is important for our mental health right now.

Television isn't always the best diversion with the airwaves focused on 24/7 news about the pandemic and stock market. To keep a positive perspective, having other interests is good.

We are self-isolating in Bellingham, so Wayne and I are doing city-folk things. We do watch a lot of news. In the evening, we stream movies and shows on Xfinity and Netflix.  I cook and Wayne does dishes. Spring cleaning is still on hold.

We go out walking, shop (mostly Fred Meyer pickup), read and play iPad Scrabble. I write blog posts of course, and I'm finishing the illustrations in this winter's Snowbird RV Adventure Journal.

Here's my workspace at the dining room table.

Using ink and watercolour pencil on a map illustration in my journal.

Here's a closeup of the journal page. While we travel, I do pencil sketches of illustrated maps that I can finish later at home. I pick images that tell a story about the places we have been and what we have seen.

A finished ink and watercolour map on my journal page.

Here's a closer view and a link to the post about White Tank Regional Park. It's in the Phoenix region of Arizona and we were in early February when the desert flowers were just starting.
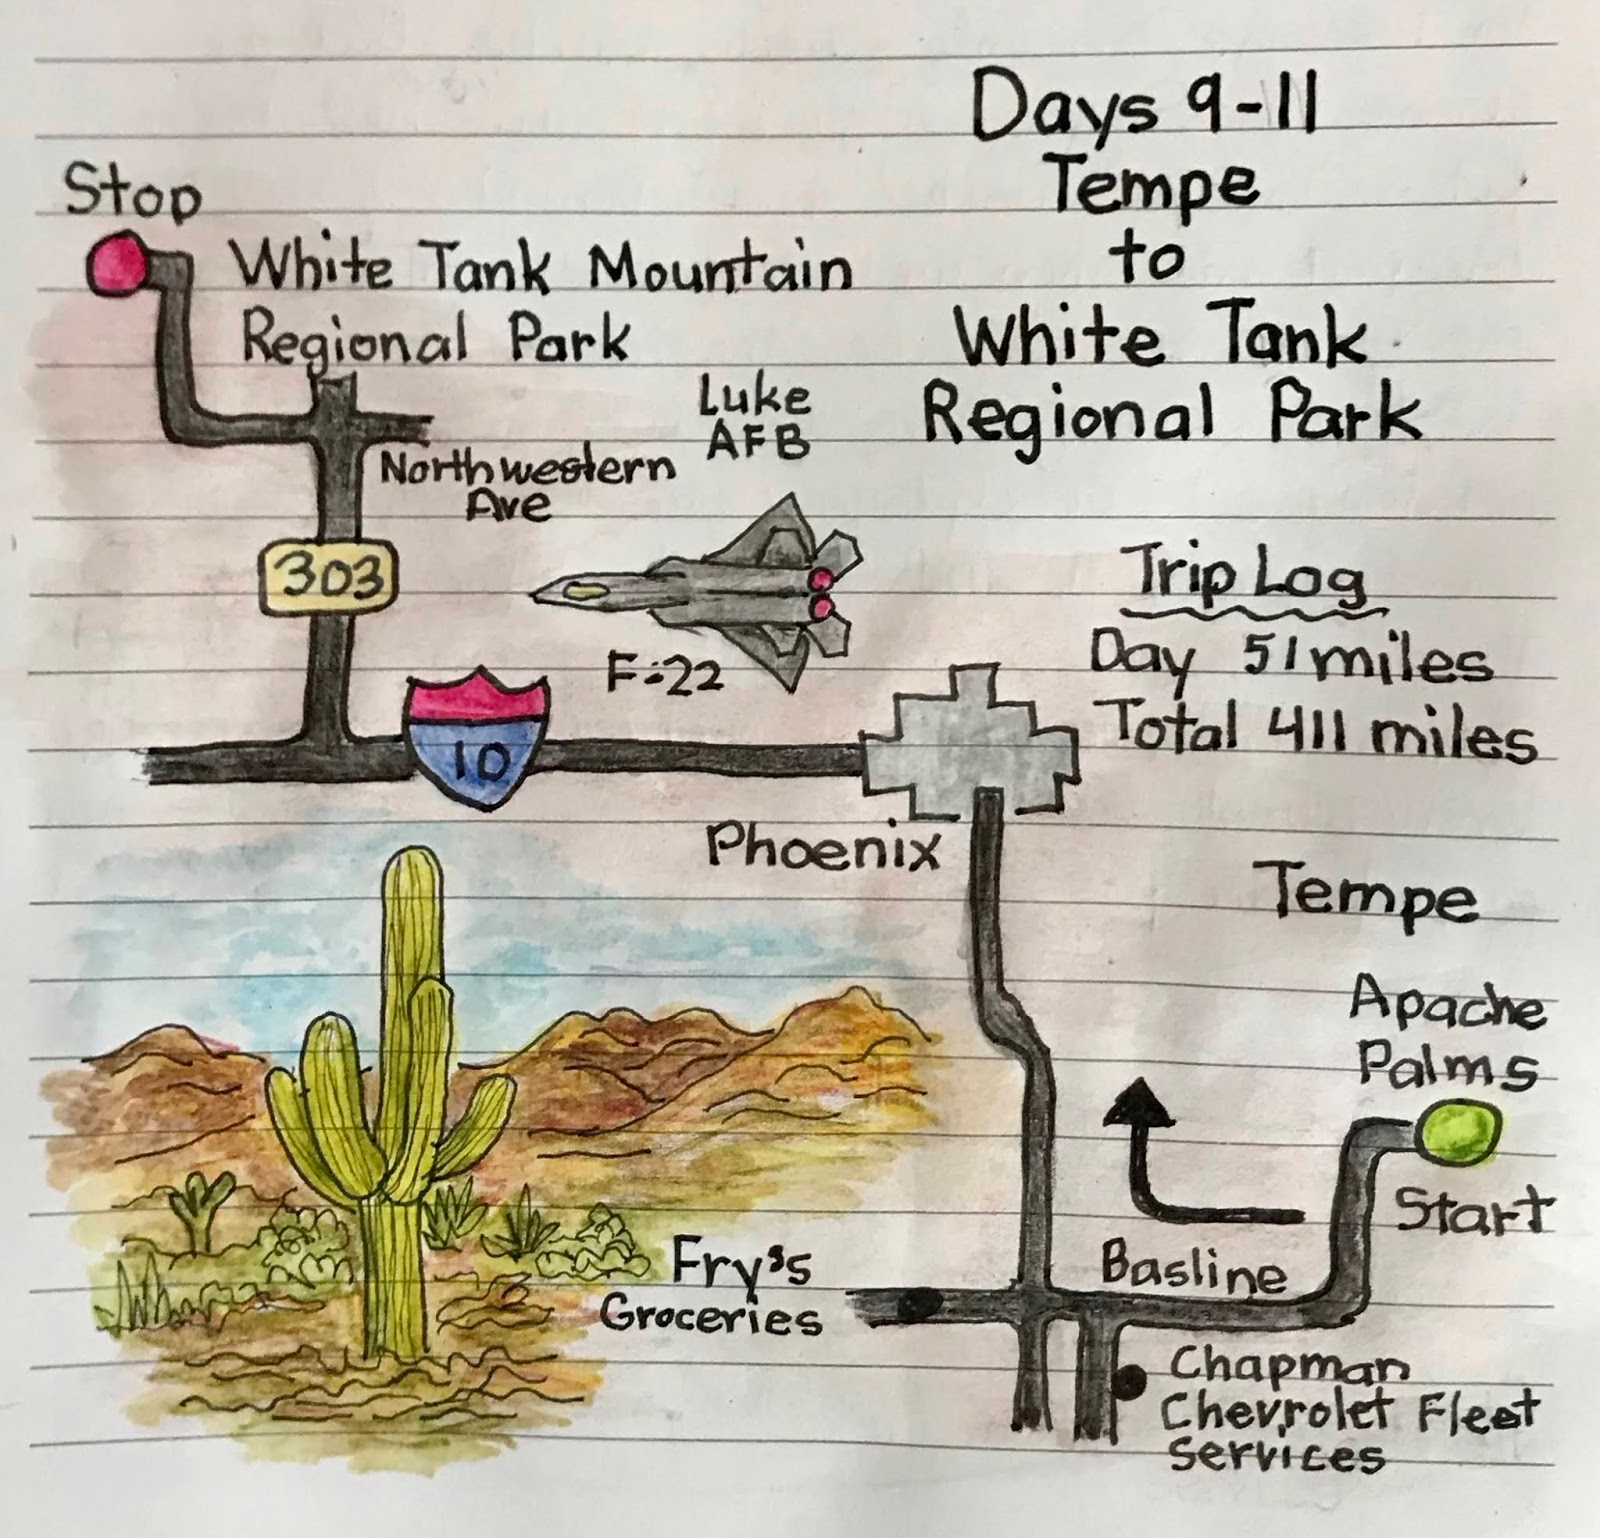
A closeup of the illustrated journal map.

If you are interested in reading about our journey, here's a link to the our Snowbird RV Adventure. Having a journal helps me relive those great moments even though we can't be there in person right now.

What are you doing right now to keep busy and productive? How is the self-isolation or quarantine experience for you? -- Margy

Monday, April 15, 2019

Mason Jar Solar Lights


I saw a post about making solar lights out of Mason Jars. It said to paint them inside with glow-in-the-dark paint. They didn't glow, so I inserted solar lights and all was well.


I was inspired by two posts at Crafty Gardener's blog to upscale my jars. I used cabin art supplies and Christmas tissue paper to redo my picnic table Mason Jar solar lights.

The jar lights before their makeover.
I used the decoupage method to turn my solid yellow jars into multicolour picnic table centerpieces.

I had Elmer's glue, so I mixed it one part glue to three parts water to make a decoupage medium. You can buy expensive versions, but this works just as well.

I tore the red and white tissue paper into irregular pieces. I didn't want any with straight edges.

Decoupage glue with a wide brush.
Paint a small section of the glass with the glue mixture then lay a dry piece of tissue paper on. Work it with the brush to keep the paper from sticking to your fingers. Gently paint glue over it until the paper adheres. Press too hard and the tissue will tear.

Starting at the bottom, I alternated and overlapped the two colours to make a pleasing pattern. The white was opaque, so I did that part in double layers.

Painting the mason jar rings and tops.
I let the jars dry before turning them over to decoupage the uppers to just under where the jar's rings screw on.

My lights are smaller than the rings, so I cut a hole in the middle of a jar lid. It doesn't have to be perfectly round. The solar light, when inserted, will cover up the edges. Don't cut yourself.

Spraying on a protective coat.
I dug into my canning supplies and got two new rings to replace the rusty old ones. I painted them white with acrylics. I reused the old lids I'd originally cut and painted them black to match the solar lights.

Once the lids were screwed on, I sprayed the jars from all angles with three coats of Krylon Colormaster Clear Finish. This protects the paper from scraping and gives it a water resistant surface.

As a Craft Room De-Stash Challenge (use what you have) here's my cost.

2 reused one quart Mason jars $0.00
Elmer's glue from my shelf $0.00
Tissue paper from Christmas $0.00
2 jar rings from my canning stuff $0.00
2 reused solar lights from before $0.00
Paint brush from my collection $0.00
Krylon spray from my supplies $0.00

The last step was to reinsert the solar lights. I'd already removed the long tubes normally used to stake them in the ground.

Upscaled Mason Jar solar lights on my front port picnic table.

During the day they are definitely red and white. At night, they take on a golden glow because of the old yellow paint inside. I like them both ways. How about you? -- Margy
Sunday, January 20, 2019

30-Day Drawing Challenge


C is for Drawing Challenge

I've been participating in a fun activity this month, the 30-Day Drawing Challenge. It's sponsored by the Comox Valley Community Arts Council.

Comox is 40 miles and across the Strait of Georgia from Powell River. To get there in real life, you need a ferry. But in cyberspace it's a lot easier.

I learned about the challenge from an online friend. Stephanie's an artist and active in the Comox Valley art scene.  You can see some of her works on Facebook.

I'm new to drawing. My only training was a one quarter art class in junior high school (in the early 60s) and two one day drawing tutorials here in Powell River. I'm inspired to take more.

I've been drawing to illustrate my cabin journal. I used the challenge to continue that process. The first four were our float cabin home, the kitchen hand water pump, a giant waterbug I found on the float, and a float cabin anchor chain.


The next four included a treasured hummingbird pin my dad made for my mom many years ago, a self portrait in the quad mirror, a sunrise and sunset on the shortest day of the year, and the jellyfish related Velella Velella I saw at Pacific Rim National Park.


The last was my feet warming in front of the woodstove. As it worked out, this drawing was on the last page of the 13th volume of my ongoing cabin journal(s).


The Challenge has inspired me to continue drawing and to expand from pencil and Bic pen to watercolour pencils and ink pigment liners in various widths.

I went to the Economy Shop in Powell River to get a gently used satchel and zippered pencil cases to keep my new supplies organized. Now I can draw anywhere.

Do you draw? What media do you use? What are your favourite subjects? If you want to get started, look for a challenge in your area. I've found the artists are welcoming and willing to share their knowledge.


Thanks for visiting part of my world this week. For more great posts from Our World Tuesday, click here.

And also a meme called Through My Lens by Mersad.

And Tuesdays with a Twist at Stone Cottage Adventures.

And Letting Go of the Bay Leaf for more Mosaic Monday.

For ABC pictures from around the world, stop by the ABC Wednesday blog. This is the twenty-fourth round of the meme originally established by Denise Nesbitt. It has now being maintained by Beverly, Roger and Melody. -- Margy

Thursday, December 14, 2017

Driftwood Santa Wall Hanging


A bit of the cabin for Christmas in town.
Does wood ever speak to you? Sounds silly, but every time I pick a piece of driftwood out of the lake I listen to what it has to say. Most often it's, "I just came by to help you keep warm this winter."

But other times, driftwood has a different message. Stumps beg to become floating planters. Medium sized gnarly pieces ask to come aboard to decorate our deck. Smaller pieces often have a unique message of their own.

This piece of driftwood told me it wanted to become a Christmas decoration we could bring out each year to celebrate the holiday.

I must be honest, I saw an article in the Peak newspaper advertising a local crafter's wares at Artique, the local artist cooperative shop. When I saw this piece of wood float by, I knew what it would become.

All it took was some acrylic paint, yarn to make a ball for the top of Santa's hat, and two nails and a piece of yarn on the back for a hanger. The driftwood shape was perfect just the way it was for the task.

I enjoy using handmade decorations for the season, and my driftwood Santa wall hanging fits right in for our city or cabin decorations.

Are you making anything special for Christmas this year? -- Margy

Monday, July 24, 2017

Painted Rock Ladybug


Many years ago my friend John pulled a large rock up from our Powell Lake natural swimming pool. He left it sitting on a partially submerged stump and there it sat for about a week.

As I looked at the rock it kept saying "turtle" to me, so that's what it became, a large rock painted into a turtle. His name is Kobe. Wayne said he looked more like Kobe Bryant's basketball shoe. What an art critic.

Last year I started looking for a smooth rock along the lake shore that said "ladybug" to me. I found it on Kinsmen Beach next to the Shinglemill Marina where we park our boat. I finally got around to painting it this summer.

Now that our good friends Dave and Marg gave us a new picnic table for the front porch, the old one has become a work bench at the back of the cabin. It was the perfect spot for rock painting.


I used acrylic paints to transform the rock into its new character. Then I used Krylon clear acrylic spray to preserve the colours in the outdoor setting.

Now both Kobe the Turtle and the new ladybug share a spot on the corner of our new float at the front of the cabin.

They have two functions. The first is to add colour and decoration year round. The second function is to weigh down this corner of the float. It was a bit higher than the other side. Now they look symmetrical as your approach by boat.


Now I need to figure out a name for her. Do you have any suggestions? -- Margy

Wednesday, October 19, 2016

Something from Nothing:
Inexpensive Large Planter Pots


Life slows each fall. Bears store up fat for a long winter's sleep and plants bear seeds for the coming spring. As nutrients are stored in roots and stems, leaves change colour and drop, a sign they too are ready for a rest.

My blueberry bushes need larger pots for the coming spring.

Transplanting time comes during the dormancy period from late October to early spring. I have two blueberry bushes I want to transplant. To be ready, I needed larger containers.

Blue 45 and 55 gallon blue barrels used for vegetable gardening.

Large pots are expensive. Because I live in a floating cabin, weight is also a problem. Heavy items make the floating foundation sink and sunken cedar logs get waterlogged. Anything to minimize weight is a positive.

Step 1: Cut the barrel in half with a grinder or skill saw.

So, how could I reduce cost and weight at the same time? The answer was blue barrels. They have become my go-to for vegetable gardening pots for years. But this time I wanted something more decorative.

Step 2: Drill plenty of drain holes.

The tops of the barrels have a pleasing sculptured rim. You don't want to cut up good barrels, they cost  $25-$45 each. But damaged ones can be found for free floating around the lake after winter storms.

Step 3: Clean the barrel and rub off any rough edges.

Picking one up is good for the environment, and a way to make something new and inexpensive from "nothing." That's recycling at its best.

Step 4: Spray paint the barrel in a desired colour.

Going from a "nothing" barrel to a large planter pot takes a few easy steps. The hardest part is cutting it in half. You do need power tools for this step. We've used either a skill saw or a grinder. For my decorative pots, I picked two barrel tops with decorative rims and bands. The remaining bottoms became blue vegetable garden planters.

Step 5: A large decorative planter to match the cabin's hunter green trim.

I picked Krylon Paint and Primer in hunter green to match the trim on our cabin. The can advertised that no primer was needed, even for plastic. After my first coat there were a few chips so I gave them a second coat on the outside. Maybe if I had used primer first that wouldn't have been needed. Getting paint to stick to plastic can be difficult.

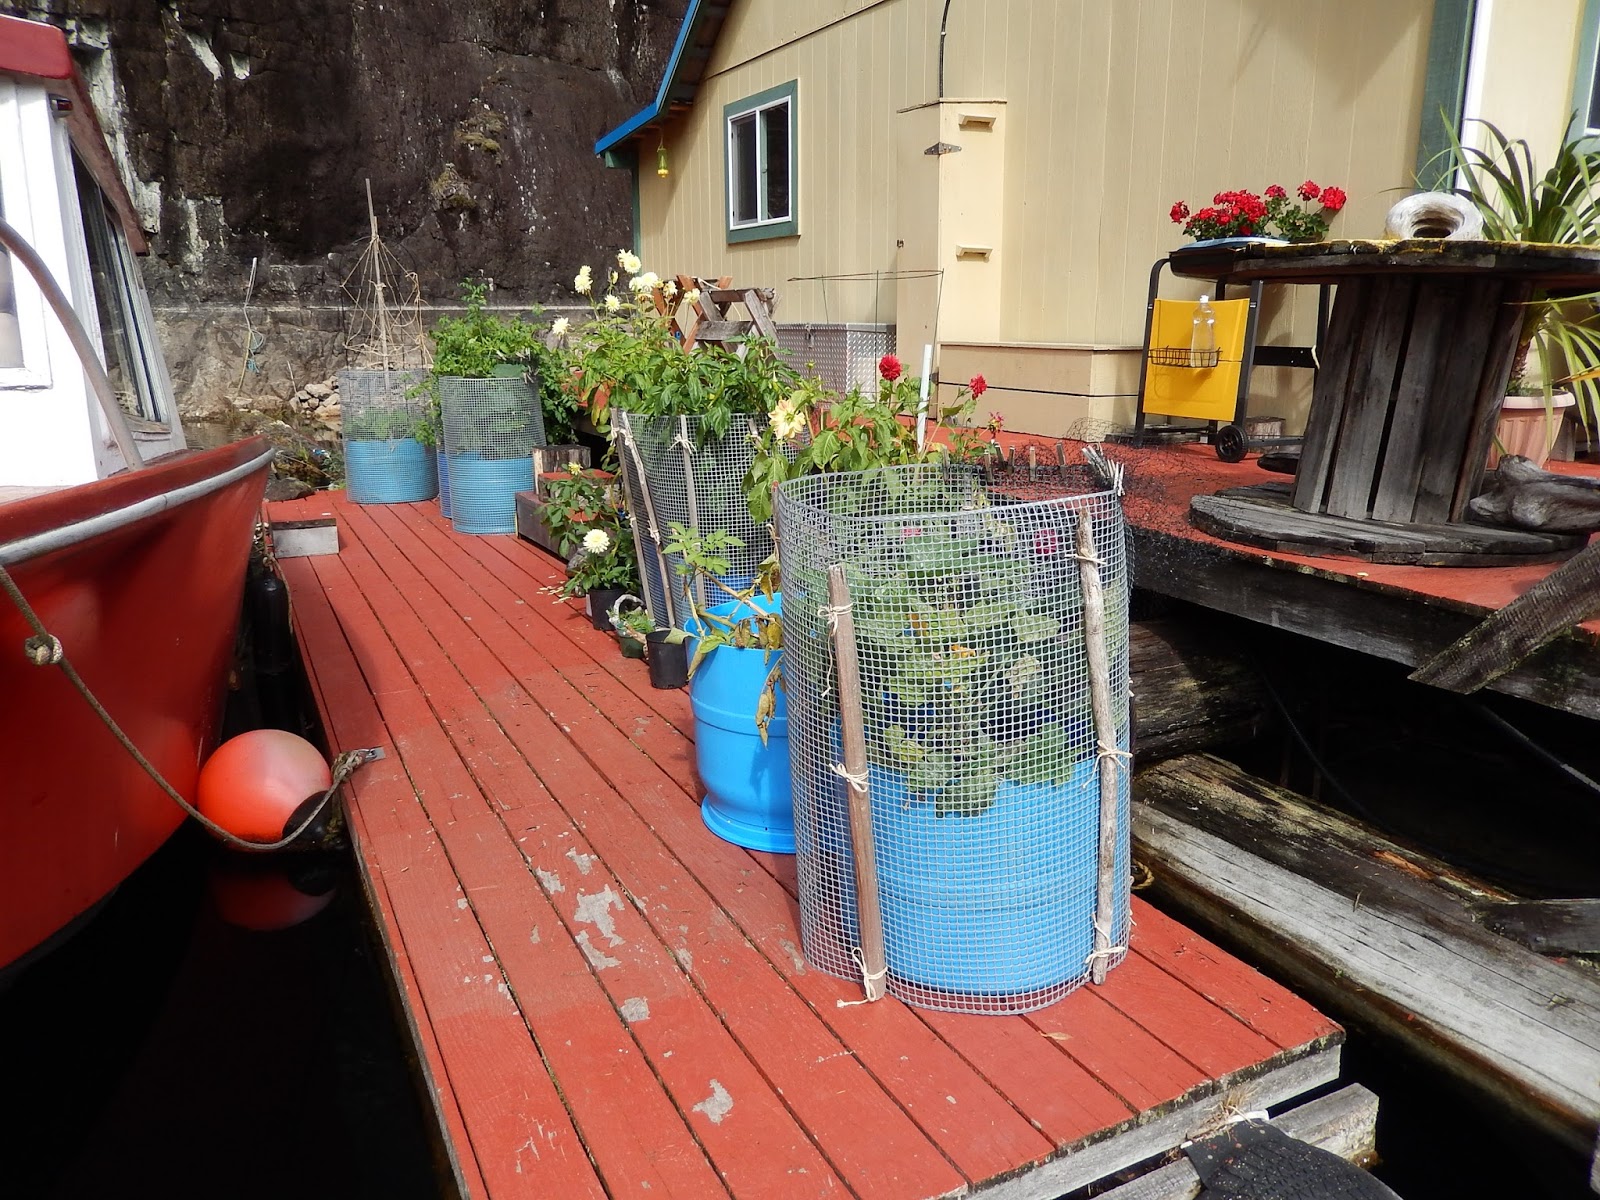
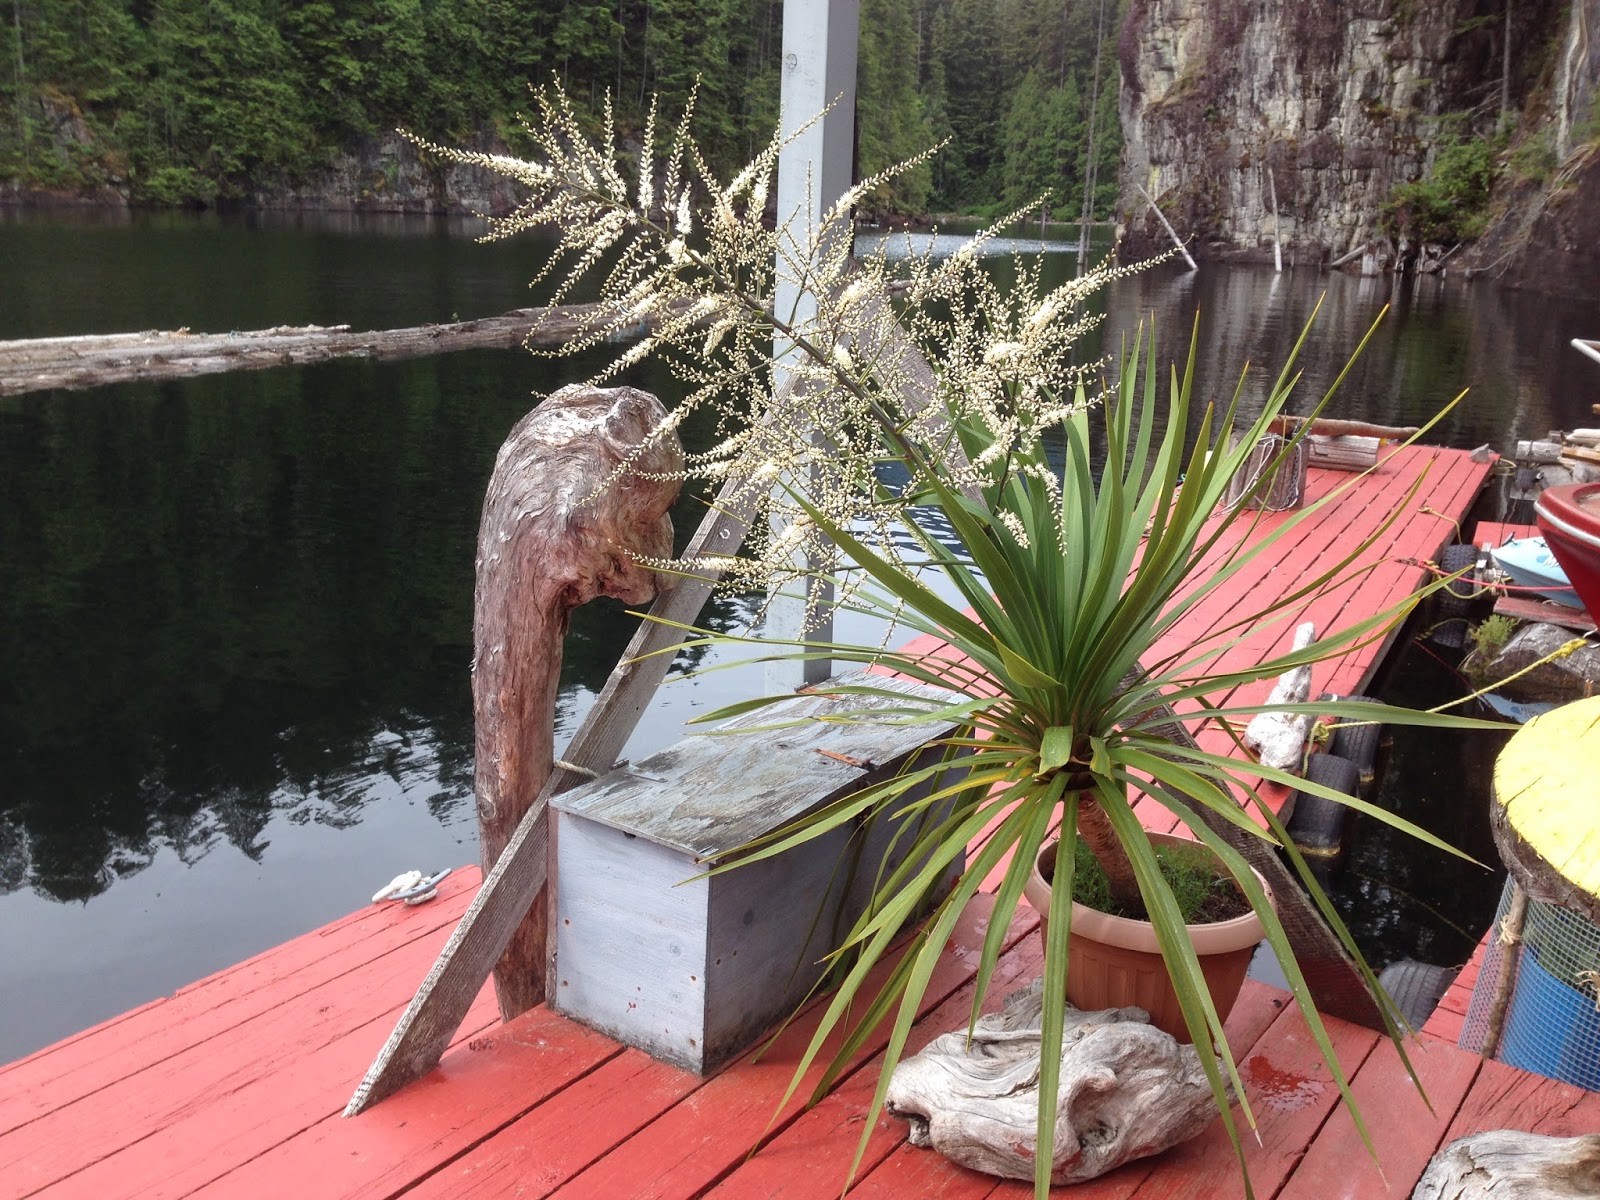
My pot-bound Dracaena plants will receive the old pots.

Now I have two beautiful pots for my blueberry plants for less than $10 in spray paint. The barrels and labour were free (unless you count sweet-talking Wayne into the project). And in the spirit of letting nothing go to waste, the old blueberry pots will be inherited by my two rapidly growing Dracaena plants. They are popping out of their old containers and ready for new homes.

Do you have any tips for getting free or inexpensive large garden pots? I'd love to hear about what you use. -- Margy
Friday, January 9, 2015

Crochet Scarf Hanger


One of my favourite bloggers is Linda at Crafty Gardener. Not only do I enjoy reading her posts about birds and gardening, but I also get great recipe and craft ideas.

Here's a crochet project she inspired. It's a scarf hanger I made as a gift for a friend who loves wearing scarves. It was a fun project to do up at the cabin.

Here are Linda's posts that gave me the inspiration for my project, Covered Hangers and Upscale the Plastic Coat Hangers.

The plastic hanger I used had a large area just under the hanger, and two small hooks under the angled sections. I cut the two small hooks off, and you'll see later how I handled the circular spot.

I searched for large rings (my friend loves heavy winter scarves). I settled on 2.5" metal rings that can be opened and closed. They weren't my first choice, but turned out to be the perfect solution.

I used bright variegated yarn and an "H" (5 mm) crochet hook.

DIRECTIONS: 
  • Crochet a chain of six stitches (test to make sure it will be enough to encircle the plastic hanger and adjust as needed).
  • Single crochet a strip that is long enough to cover the hanger all the way around (test as you work).
  • When the strip is long enough, tie it off.
  • Pin the crochet strip around the hanger with the open side on the outside of the hanger.
  • Single crochet the edges together all the way around the hanger.
  • Sew the ends together at the top of the hanger
  • If your hanger has a large plastic area under the hook, crocheted two medallions. (If your plastic hanger doesn't have this large area, skip this step.)
  • To make a medallion, chain four stitches and use a slip stitch to make circle. Chain three stitches and then double crochet twice in each loop around the circle. Tie off when the medallion is completed.
  • Sew the medallions together, one on each side to cover the plastic circle, and attach them to the hanger cover.
  • Open and insert the rings through the crochet cover on the underside of the angled sections. That's what made this style of ring a perfect solution. Rotate the rings so the larger hinge is hidden in the yarn.
  • Using the same yarn and a craft needle, tie each ring around the plastic hanger to give it extra strength. It's easy to hide the stitches if you use variegated yarn. Weave in the ends before cutting them off.
The hanger is now ready to store lots of winter scarves, three in the rings and several more on the bottom bar.


And I found a scarf that matched the exposed part of the plastic hanger to be part of my gift.

I'm taking another hint from Linda. Here's my disclaimer. I'm a beginner at crochet. My directions may not be error free. If you have any questions or suggestions, please let me know. -- Margy

Thursday, October 30, 2014

Yarn Embroidery on Burlap


I enjoy doing a wide variety of hand crafts. Embroidery is one of them. I had an old stool that I wanted to fix up for our part-time condo living room. Here's what I did.

After the wood was stripped, sanded, stained and finished with urethane, I started on the seat cover. I chose burlap for the backing because it's easy to count the threads to keep a pattern uniform. One disadvantage of burlap is that it wears through fairly quickly. If your stool is going to get lots of use, a firmer material would be better.

I cut a piece of burlap large enough to cover my stool's top with enough extra to turn under during the upholstery process and a little extra in case the loosely woven material unraveled. You can always trim it to size later.

I drew my border design on the burlap lightly with pencil. Working from the outside in, I first created the frame for my picture. I then drew my central picture on newspaper and transferred it to the burlap, again using light pencil marks. I chose my float cabin and garden for my design.

If you are looking for a good resource on embroidery, go to Sharon b's Dictionary of Stitches for Hand Embroidery and Needlework. It's has both photographs and descriptions of numerous stitches.


Here's the pattern I used for my border. You can use it and then customize the central picture to match your life and interests, or just keep working in geometric shapes. Don't have a stool? The same method can be used for pillow covers.

Fortunately, the stool's padded plywood seat was still in useable condition. When the cover was done, I used upholstery tacks to secure it to the plywood bottom.

So, if you are looking for a simple way to create a unique focal point in your home, try yarn embroidery on burlap.


Head on over to A Peak into My Paradise for the Happiness is Homemade Link Party to see more recipes, crafts and DIY projects. -- Margy